
In this tutorial, we will learn how to install Kubernetes on CentOS the hard way.
We will show all the steps to get a fully functionating Kubernetes cluster and describe all the details.
To perform this demo, we will use an Amazon Web Service EC2 Virtual machines of type t2.large that will provide us 2 CPU and 8 RAM.
The installation is the same on the cloud or on your local machine: the main difference here is that a machine in AWS has two IPs: a public IP and a private IP. So, we need an extra setup to generate certificates for both IPs while bootstrapping the cluster in a cloud hosted VM, while for the local VM, you can simply escape this setup.
Before you begin
Before installing Kubernetes, your VMs must respect a set of conditions first:
- Your machines must run CentOS 7 /RHEL 7 / Fedora 25+
- 2 or more CPU and RAM.
- Full public or private network connectivity between all machines in the cluster.
- Kubernetes custom port allowed on your security group and your firewall.
- Swap disabled for the service to work properly.
If you are using Ubuntu based distribution, please check Install Kubernetes on Ubuntu.
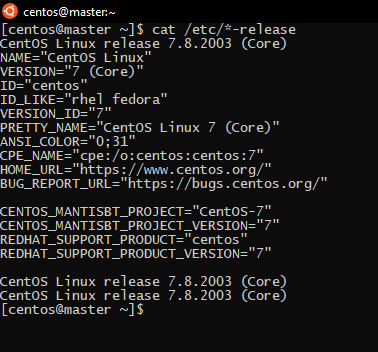
To check your distribution, you can us:
cat /etc/*-release
You can check your resources with the command “htop”
To be able to use htop on Centos, you need to install it first from epel-releases with
sudo yum -y install epel-release
sudo yum -y update && sudo yum -y install htop

If you’re machine has swap, you can disable it by deleting the swap definition line in the file “ /etc/fstab” and then disable it by using:
sudo swapoff -a
To be able to run Kubernetes, you must make sure that br_netfilter module is loaded.
To enable it, you can use the following command:
sudo modprobe br_netfilter
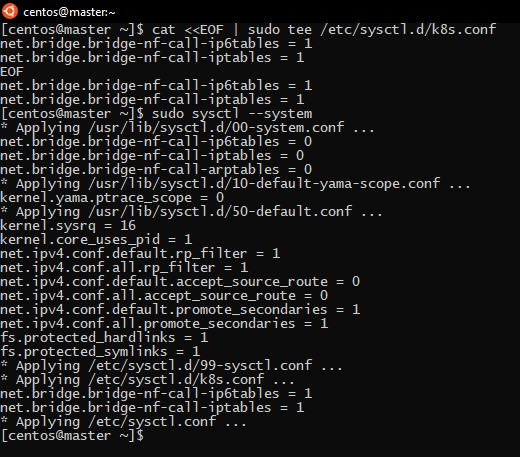
In addition to that, you must let iptables see bridged traffic: to do so, you must set net.bridge.bridge-nf-call-iptables is set to 1 in your sysctl config. You do that with:
cat <<EOF | sudo tee /etc/sysctl.d/k8s.conf
net.bridge.bridge-nf-call-ip6tables = 1
net.bridge.bridge-nf-call-iptables = 1
EOF
sudo sysctl --system
And now there is a full list of the ports you must allow to install Kubernetes on CentOS:
For the master nodes:
| Protocol | Port | |
| TCP | Inbound | 6443* |
| TCP | Inbound | 2379-2380 |
| TCP | Inbound | 10250 |
| TCP | Inbound | 10251 |
| TCP | Inbound | 10252 |
For worker nodes:
| Protocol | Port | |
| TCP | Inbound | 10250 |
| TCP | Inbound | 30000-32767 |
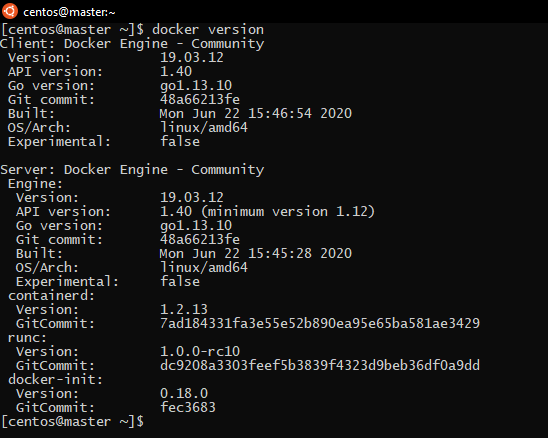
Installing container runtime:
To use Kubernetes, your machine must firstly have a working container runtime, but in our example we will be using you can check this tutorial if you haven’t installed docker yet.
Now all is set, and we are ready to install Kubernetes on CentOS.
Installing Kubernetes on CentOS:
Actually, to install Kubernetes, we need to install the following three packages:
-
- kubeadm: the command to create or destroy the cluster.
- kubelet: the component/service that runs on all of the machines in the cluster and manages them.
- kubectl: the CLI used to control the cluster.
We need to add the Kubernetes official repository to the repositories list:
cat <<EOF | sudo tee /etc/yum.repos.d/kubernetes.repo
[kubernetes]
name=Kubernetes
baseurl=https://packages.cloud.google.com/yum/repos/kubernetes-el7-\$basearch
enabled=1
gpgcheck=1
repo_gpgcheck=1
gpgkey=https://packages.cloud.google.com/yum/doc/yum-key.gpg https://packages.cloud.google.com/yum/doc/rpm-package-key.gpg
exclude=kubelet kubeadm kubectl
EOF
Kubernetes also require to disable SELinux or set it to permissive because it may disturb it (or) lead to performance issue.
So, we will Set SELinux in permissive mode with:
sudo setenforce 0
sudo sed -i 's/^SELINUX=enforcing$/SELINUX=permissive/' /etc/selinux/config
now we can install the packages:
sudo yum install -y kubelet kubeadm kubectl --disableexcludes=kubernetes
we can check for the installed version:

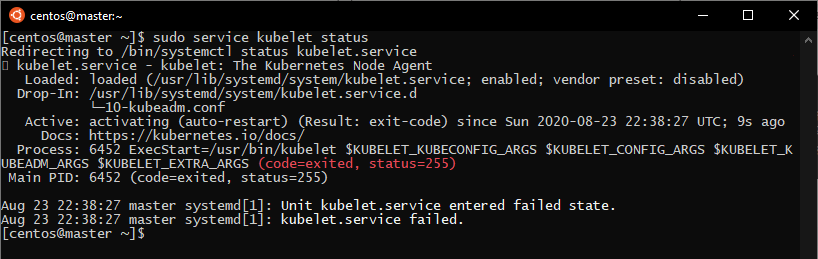
Now, we will enable Kubelet with:
sudo systemctl enable --now kubelet
And then, Kubelet will be on crash loop waiting for kubeadm to initiate or join a cluster.
Configuring cgroup:
By default, docker uses “cgroupfs” as cgroup driver. However, kubelet recommends “systemd”. So, we need to change docker cgroup with:
cat <<EOF | sudo tee /etc/docker/daemon.json
{  "exec-opts": ["native.cgroupdriver=systemd"],
   "log-driver": "json-file",
   "log-opts": {
      "max-size": "100m"
    },
    "storage-driver": "overlay2"
}
EOF
sudo mkdir -p /etc/systemd/system/docker.service.d
sudo systemctl daemon-reload
sudo systemctl restart docker
So now, all the machines of the cluster must be equipped with Kubernetes installed the way described above.
For me, I will clone the created machine to create two other VMs with Kubernetes already installed. We will name them to node1 and node2 and the main VM will be the master.

Once the infrastructure is ready, we can bootstrap a Kubernetes cluster:
We need first to create a new cluster in the master using the init command in the master machine:
sudo kubeadm init
But this will create a locally available cluster. Since my cluster will be hosted on AWS cloud, it needs to be available through both private and public ip, to do so we will use the “–apiserver-cert-extra-sans” flag.
If you are running a cluster on your local VM, just use the previous command, you don’t need this flag.
sudo kubeadm init --apiserver-cert-extra-sans=PrivateIP,PublicIP
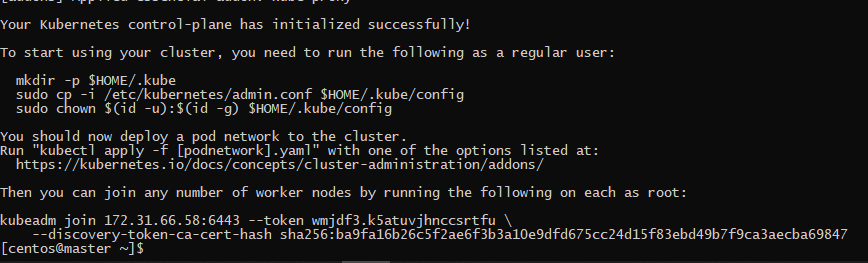
Once the new cluster ready, we will get the commands that we must run to use the cluster with the CLI kubectl: kubectl always check the directory “$HOME/.kube” for the config file so we need to create that directory and copy the config file that kubeadm generated. And then change the ownership of this file to our user so he can use the CLI without root privileges. So you must run these commands in the master machine:

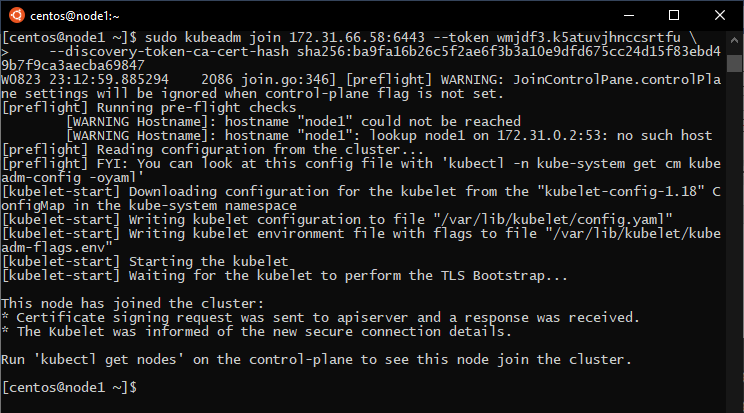
Then we should join the worker nodes to the cluster using the join command in the worker nodes:
Note that kubeadm must be ran with root privileges:
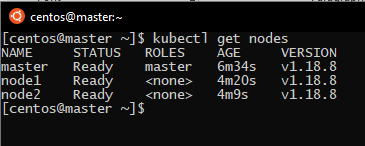
If we check the list of nodes with this command in the master node:
kubectl get nodes

PS: if you want a single node cluster where the master is the control plane and the worker node in the same time, you need to taint the master.
To do so, you simply need to use the following command in the master node:
kubectl taint nodes --all node-role.kubernetes.io/master-
All the nodes joined the cluster successfully, but they are not ready: the reason is that Kubernetes needs a third-party network plugin that will allow the Pods to communicate and there’s no plugin installed yet.
Here is a list of some plugins that Kubernetes supports:
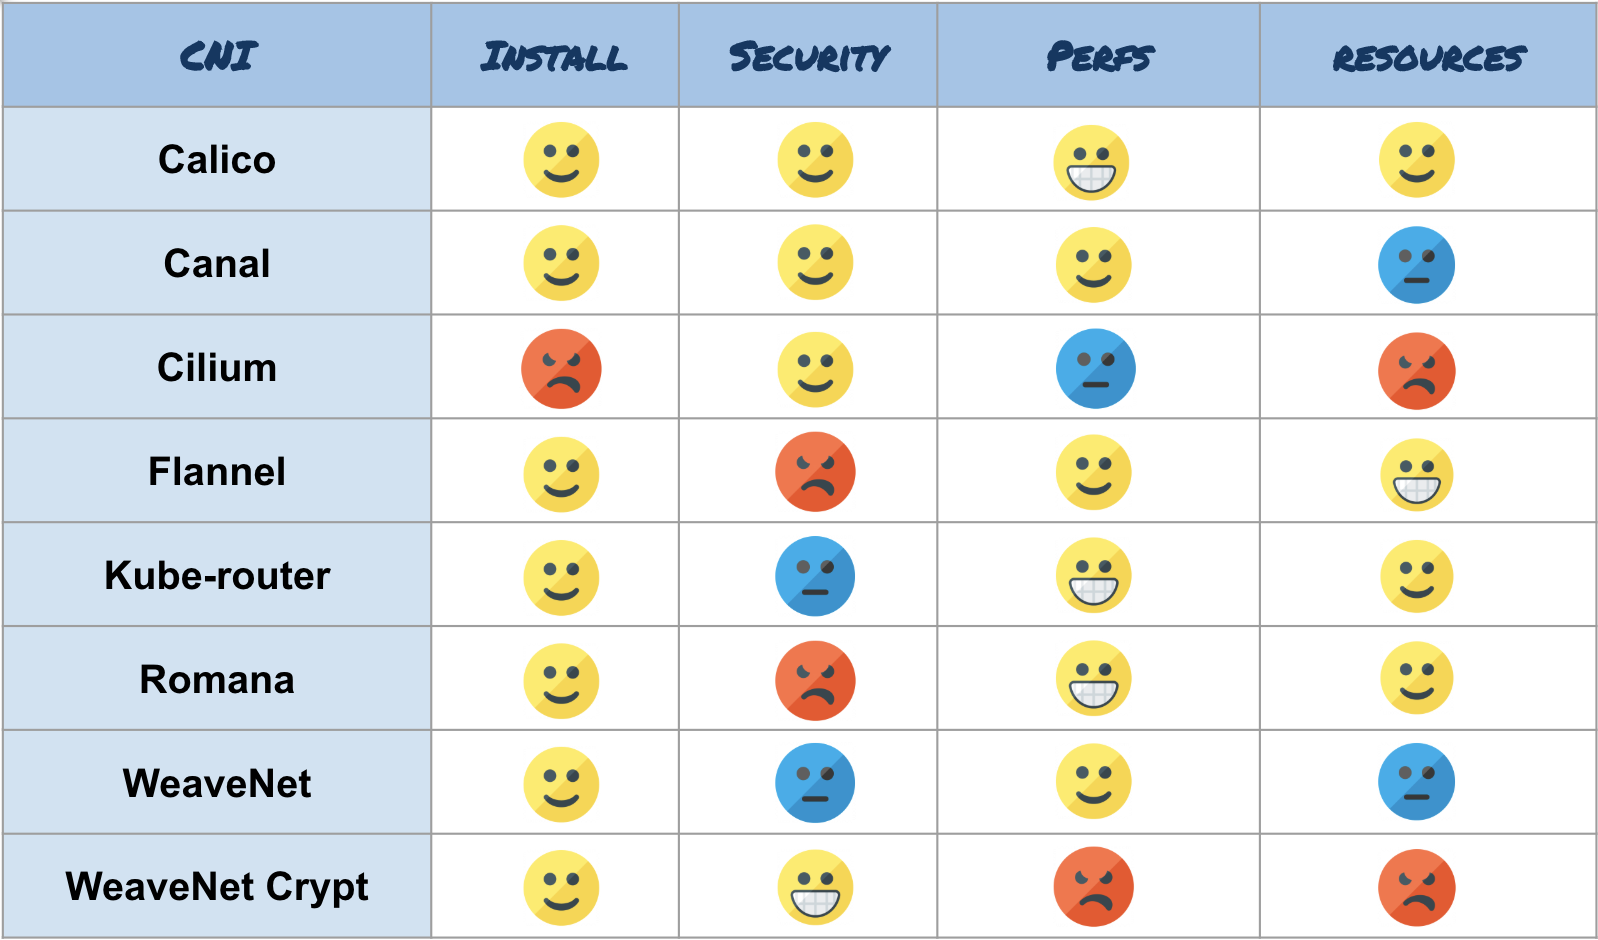
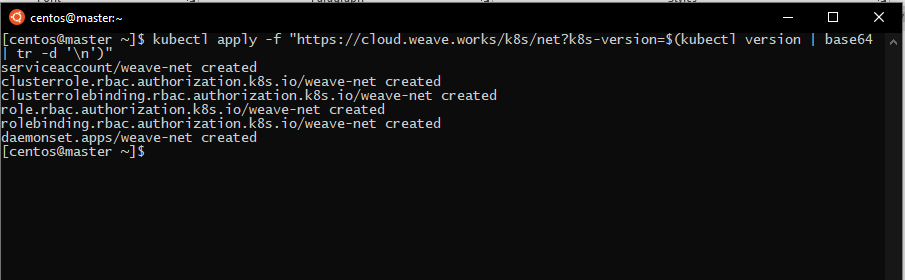
In this tutorial, we will use WeaveNet, so to install it just this command on any node of the cluster that is able to use kubectl:
kubectl apply -f "https://cloud.weave.works/k8s/net?k8s-version=$(kubectl version | base64 | tr -d '\n')"
We will check if the nodes are now ready:
To test if the cluster is working perfectly, we will test it through deploying httpd on it:
This can be applied on any node of the cluster that is able to use kubectl:
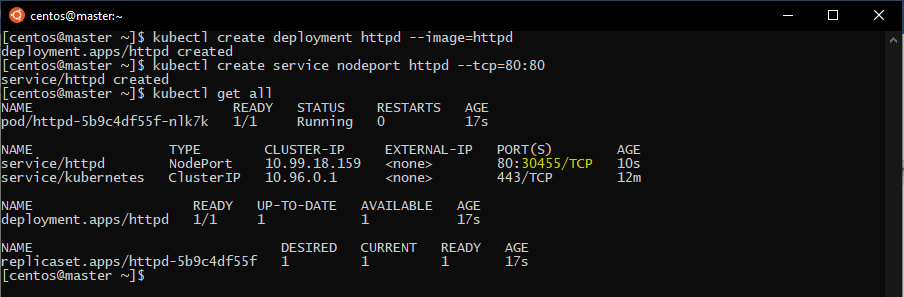
First of all, we will deploy a httpd app using:
kubectl create deployment httpd --image=httpd
after that, we will create a service that will expose that deployment
kubectl create service nodeport httpd --tcp=80:80
Now if we check our deployed app and service, we can figure out the port the app is running on:
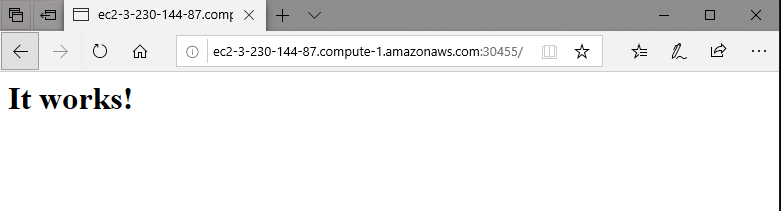
If we check the browser on the specific port, we can find httpd running perfectly:
In this tutorial, we had the chance to install Kubernetes on CentOS, and we have also initiated a multi node cluster.
In the next tutorial, we will learn to deploy different apps and projects on Kubernetes.